Cleaning a kitchen in the wrong order means doing several jobs twice, and it is the single most common reason a clean takes ninety minutes when it should take forty. The sequence that wastes least effort is simple: clear the surfaces, work from the top down, do dry jobs before wet ones, and leave the floor until the very end.
Why does the order matter so much?
Because gravity does most of the redistributing. Crumbs swept off a worktop land on the floor. Grease loosened on an extractor hood drips onto the hob below it. Dust knocked off the top of a fridge settles on everything at waist height. If you mop first and wipe the worktops second, you will be mopping again, and most people simply do not, which is how kitchen floors end up sticky.
What comes first?
Clearing, not cleaning. Put away anything that lives elsewhere, stack the dishwasher or run a sink of hot water for the washing up, and get the worktops as empty as is realistic. Cleaning around a kettle, a bread bin and a stack of post takes far longer than cleaning a clear surface, and the result is visibly worse because the dirt collects exactly where objects sit.
This is also the moment to open a window or switch the extractor on. Warm damp air and cleaning product fumes both linger, and ventilation costs nothing.
What is the actual sequence?
- Clear surfaces and start the washing up. Letting pans soak while you clean uses time that would otherwise be dead.
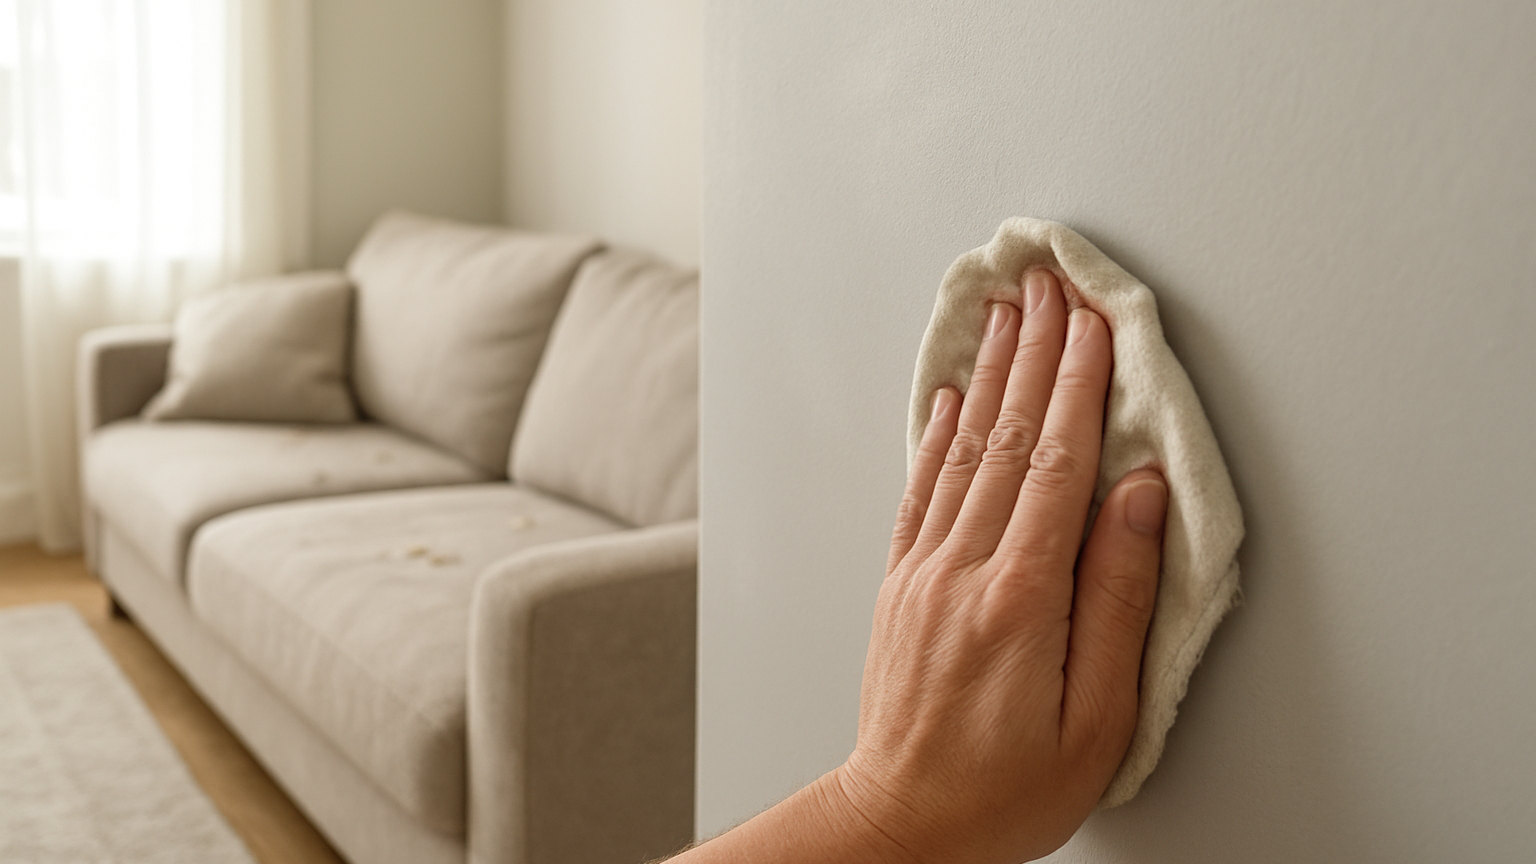
- High level first. Tops of wall units, the extractor hood, shelves and light fittings. Dust these dry before anything wet goes near them, because wet dust becomes a smear.
- Cupboard doors and handles. Work along one wall rather than jumping about, and pay attention to the units either side of the hob.
- Appliance fronts. Fridge, oven door, dishwasher, microwave.
- The hob and splashback. Loosen anything baked on with hot soapy water and give it a few minutes to soften rather than scrubbing immediately.
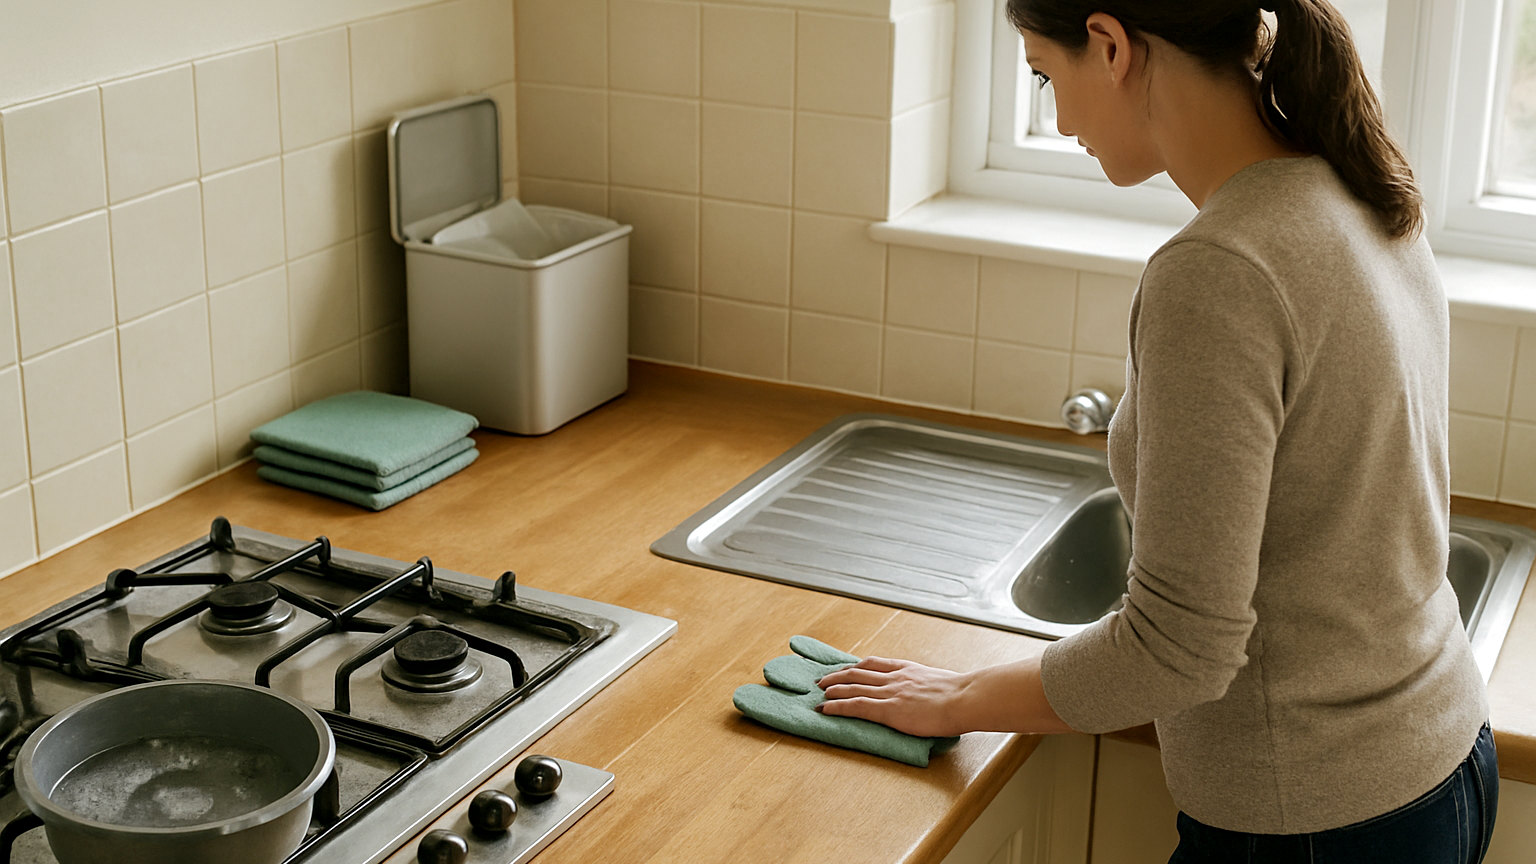
- Worktops. Wipe towards the sink, not away from it, so crumbs end up somewhere useful.
- The sink and taps. This has to come after the worktops, because everything you have just wiped has gone into it.
- The bin. Washed out and re-lined.
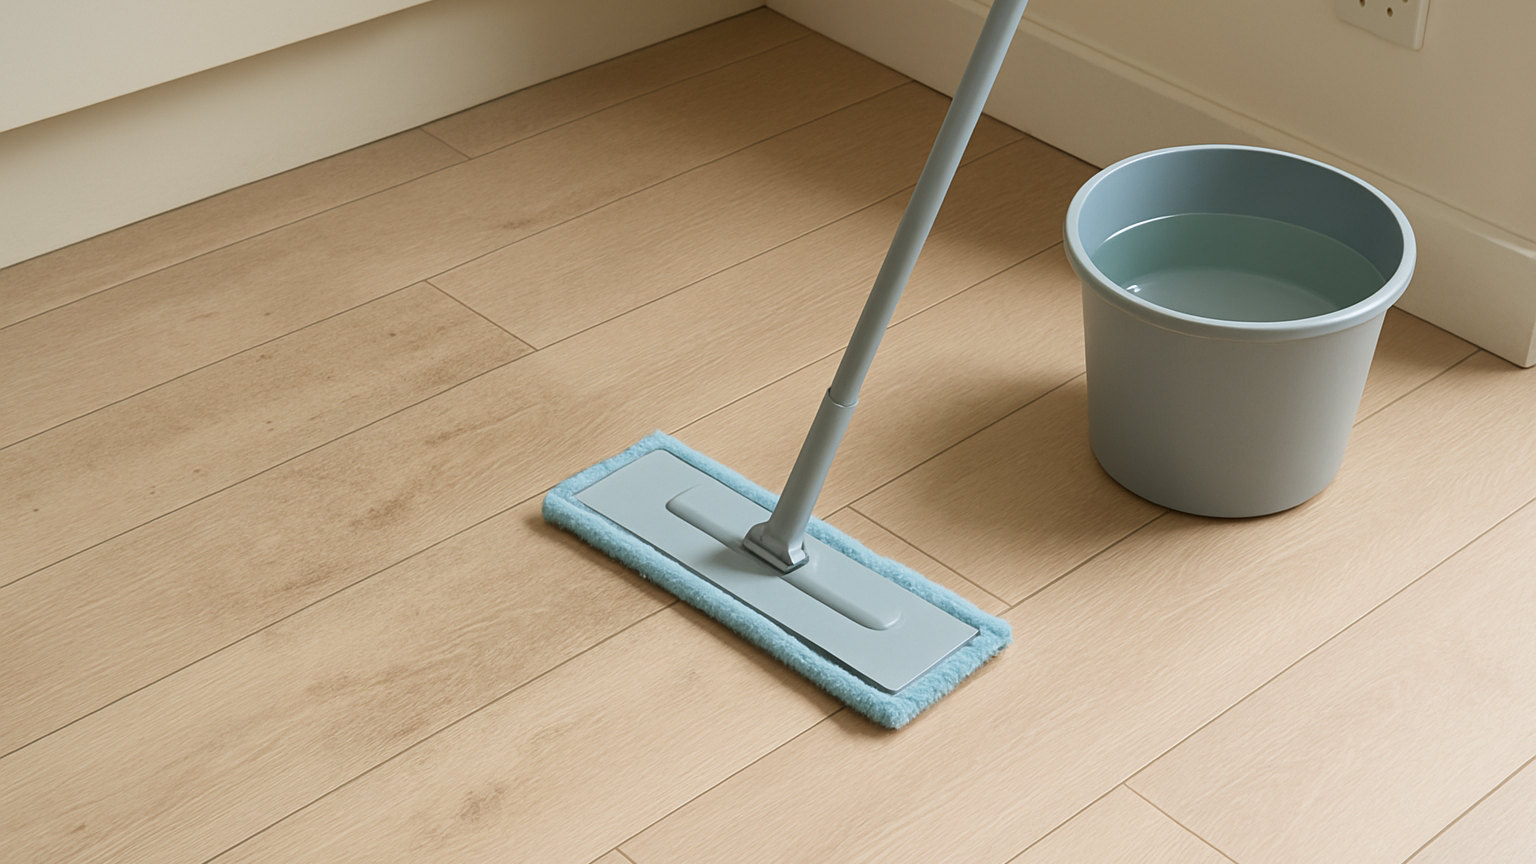
- The floor. Vacuum or sweep, then mop, working backwards towards the door.
Why dry before wet?
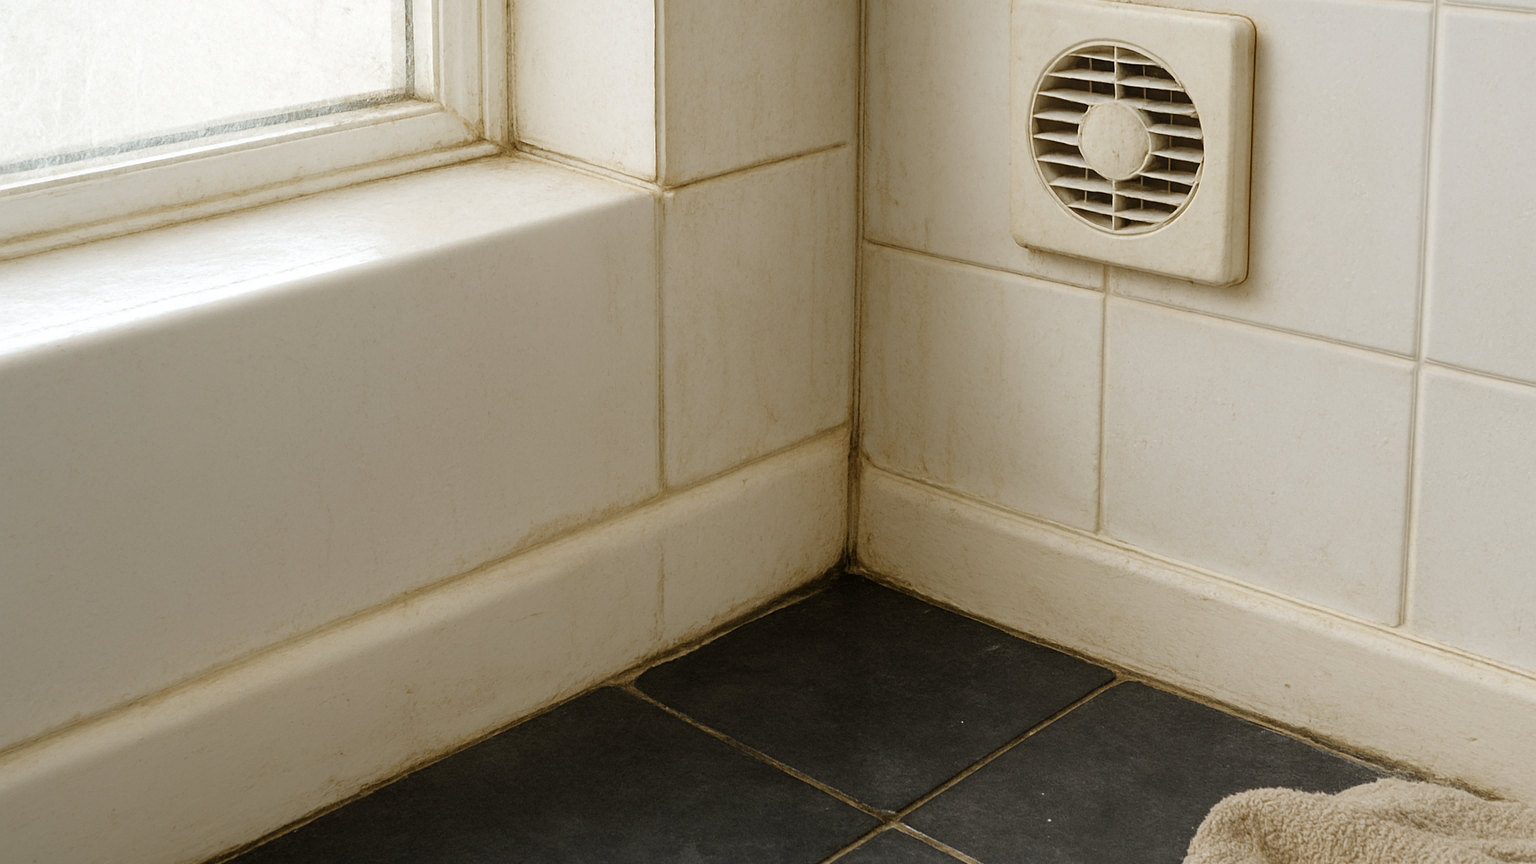
Dry dust lifts cleanly with a microfibre cloth or a vacuum brush. The same dust, once wet, turns into a grey film that has to be wiped several times and then dried, and it spreads into corners and along the top edge of skirting boards. The rule applies at every height: dust the top of the units before you wash the doors, and vacuum the floor before the mop goes anywhere near it.
Where does the sink fit in?
Midway, and then briefly again at the end. It is the place everything drains into, so cleaning it early is wasted effort, but it is also the source of the hot water you need for the worktops. Clean it once the surfaces are done, then give it a final rinse after the mop bucket has been emptied so the last thing you do leaves it clean.
How do you handle the jobs that need soaking time?
Start them first and come back. Oven shelves, a burnt pan, an extractor filter and a cupboard front with hardened grease all respond far better to twenty minutes in hot water than to five minutes of scrubbing. Get them soaking during the clearing stage and deal with them while the floor dries.
What does this look like in a rush?
When there is not time for the full sequence, the order still holds, just shortened. Clear the surfaces, wipe the hob and worktops, do the sink, and run a vacuum over the floor. That takes about fifteen minutes and covers everything a visitor notices and most of what actually matters for hygiene. What it skips – high level dust, cupboard doors, mopping – is exactly the group of jobs that can safely wait a week.