An oven that has not been cleaned for years is not one job but several, and most of them are waiting rather than working. Run them in parallel and start the night before, and the whole thing takes an evening and a morning rather than a miserable afternoon of scrubbing.
What is the plan?
- Evening: remove everything and set the shelves soaking.
- Evening: apply the interior treatment and leave it overnight.
- Morning: deal with the shelves, then the interior, then the glass.
- Morning: tackle the base deposit last, once everything else is out of the way.
- Finish: rinse, dry and run the oven empty briefly to clear any residue.
What goes in the soak?
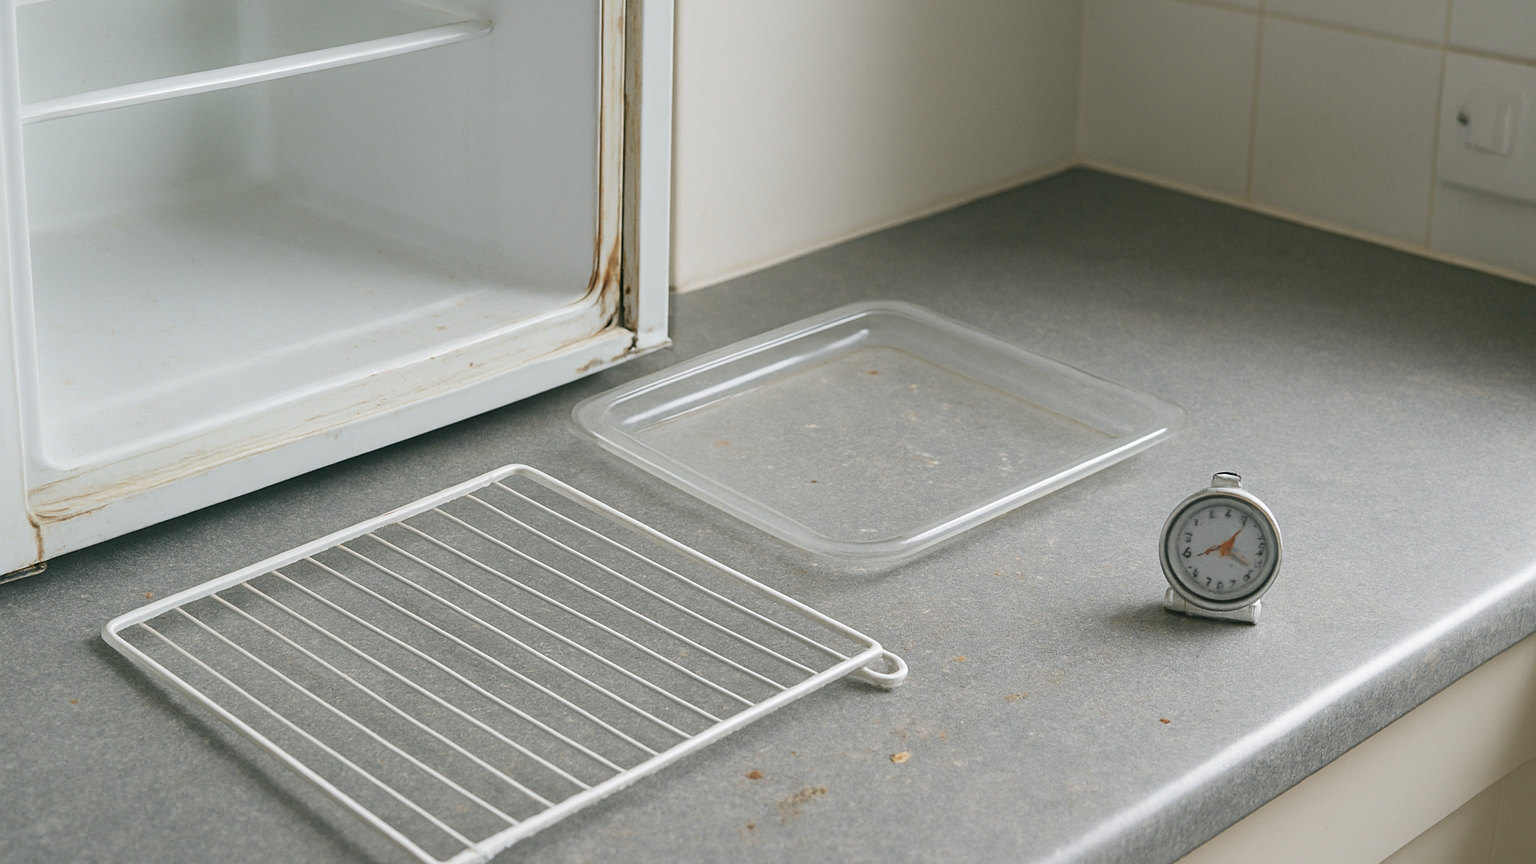
Shelves, side racks, any trays and the grill pan. Line a bath with an old towel, lay everything in, cover with hot water and add a generous amount of soda crystals or biological washing powder. Leave overnight.
Telescopic runners should not be soaked, since water washes out the bearing lubricant. Wipe those separately.
What goes on the interior?
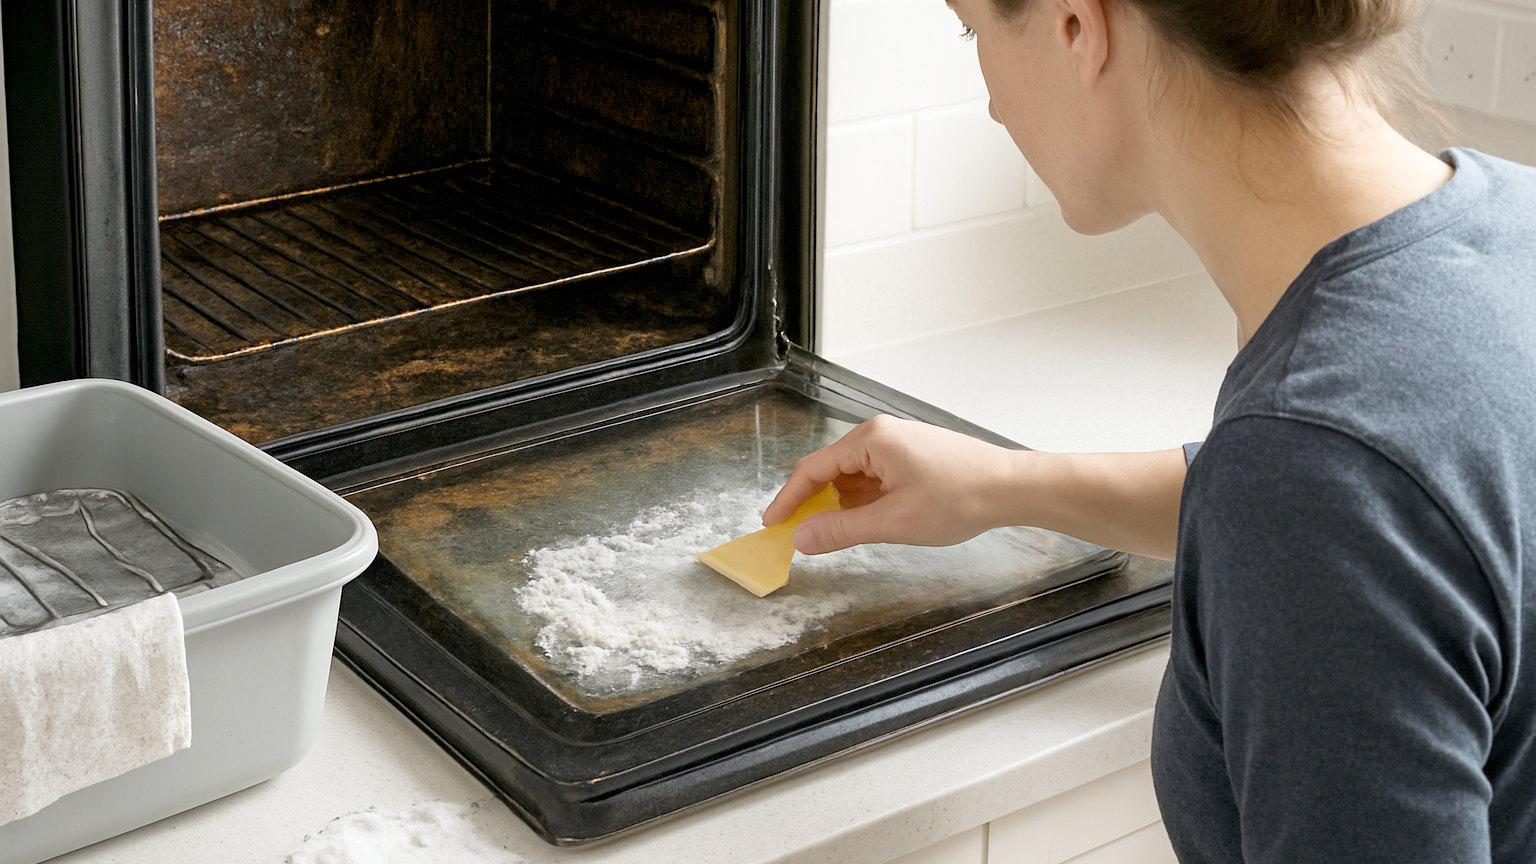
For an oven in reasonable condition, a thick bicarbonate of soda paste spread over every surface except the elements, the fan and the thermostat probe, left overnight.
For a genuinely neglected oven with a hard black layer, a caustic gel is the realistic option, applied according to the instructions with gloves, eye protection and the window open. Check first whether the oven has catalytic liners, which must be masked or avoided entirely.
How do you deal with the base?
The base takes the worst of it and is the hardest part. After the overnight treatment, scrape with a plastic scraper or an old bank card, which lifts a surprising amount of softened deposit without damaging the enamel.
For a layer that has gone hard and glassy, repeat the treatment for a second night. Two nights of soaking removes considerably more than one night and an hour of scrubbing.
Do not use a metal scraper or wire wool on oven enamel, which will chip it, and chipped enamel then rusts.
What order should the parts be done in?
Top down, as with any cleaning. Roof, then sides, then the back, then the base. Doing the base first means it gets covered again by everything that runs down.
The door and the glass come after the interior, since drips from the cavity land on the door.
What about the door and the seal?
Bicarbonate paste and a glass safe scraper on the inner glass, and a damp cloth on the seal. Never use caustic cleaner or an abrasive on a door seal, which is a rubber or fibreglass component that degrades readily and is expensive to replace.
If the glass has a brown haze between the panes, that needs the door dismantling and is a separate job.
How do you finish?
Rinse everything thoroughly with clean water, several times if a caustic product has been used, and dry with a cloth. Refit the shelves and racks only when they are completely dry.
Then run the oven empty at around 200 degrees for twenty minutes with the window open, which burns off any residue and clears the smell before you cook in it.
When is it worth paying someone?
For an oven that has not been touched in several years, a professional clean using a dip tank for the removable parts and a caustic gel for the cavity produces a result that is very difficult to match at home, in about two hours and with no chemicals in your kitchen.
It is worth treating as a reset. Once an oven is genuinely clean, keeping it that way takes twenty minutes a month.
What if the oven still smells afterwards?
Usually residue rather than anything permanent. Rinse the cavity again with clean water, paying attention to the corners and the base where cleaner collects, and run the oven empty at around 200 degrees for twenty minutes with the window open. A smell that persists after two of those cycles is worth investigating, since it may be deposit behind a liner or on the element rather than in the cavity.