A shirt is ironed in a set order for one reason: each part is positioned so that finishing it does not crush anything already done. Working through the eight sections in sequence takes four or five minutes with practice, and the order matters more than the technique.
What is the order?
- The collar, underside first, then the top.
- The cuffs, inside first, then outside, unbuttoned and laid flat.
- The sleeves, one at a time.
- The yoke, which is the panel across the shoulders at the back.
- The front panel with the buttons, working around each button rather than over it.
- The back.
- The front panel with the buttonholes and the placket.
- A final check of the collar, which may have creased while you worked.
The reasoning is that small, fiddly parts are done first while the shirt is easy to handle, and the large flat panels last, hanging off the board rather than bunched under the rest of the garment.
How do you do the collar?
Unbutton it and lay it flat with the underside up. Iron from each point towards the centre rather than from the centre outwards, which is what pushes creases into the points and leaves a wrinkle at the tip.
Turn it over and repeat on the top side. Do not press the fold line at the back of the collar flat unless the shirt is designed that way, since a collar with a hard crease along the fold sits oddly under a jacket.
What is the technique for the sleeves?
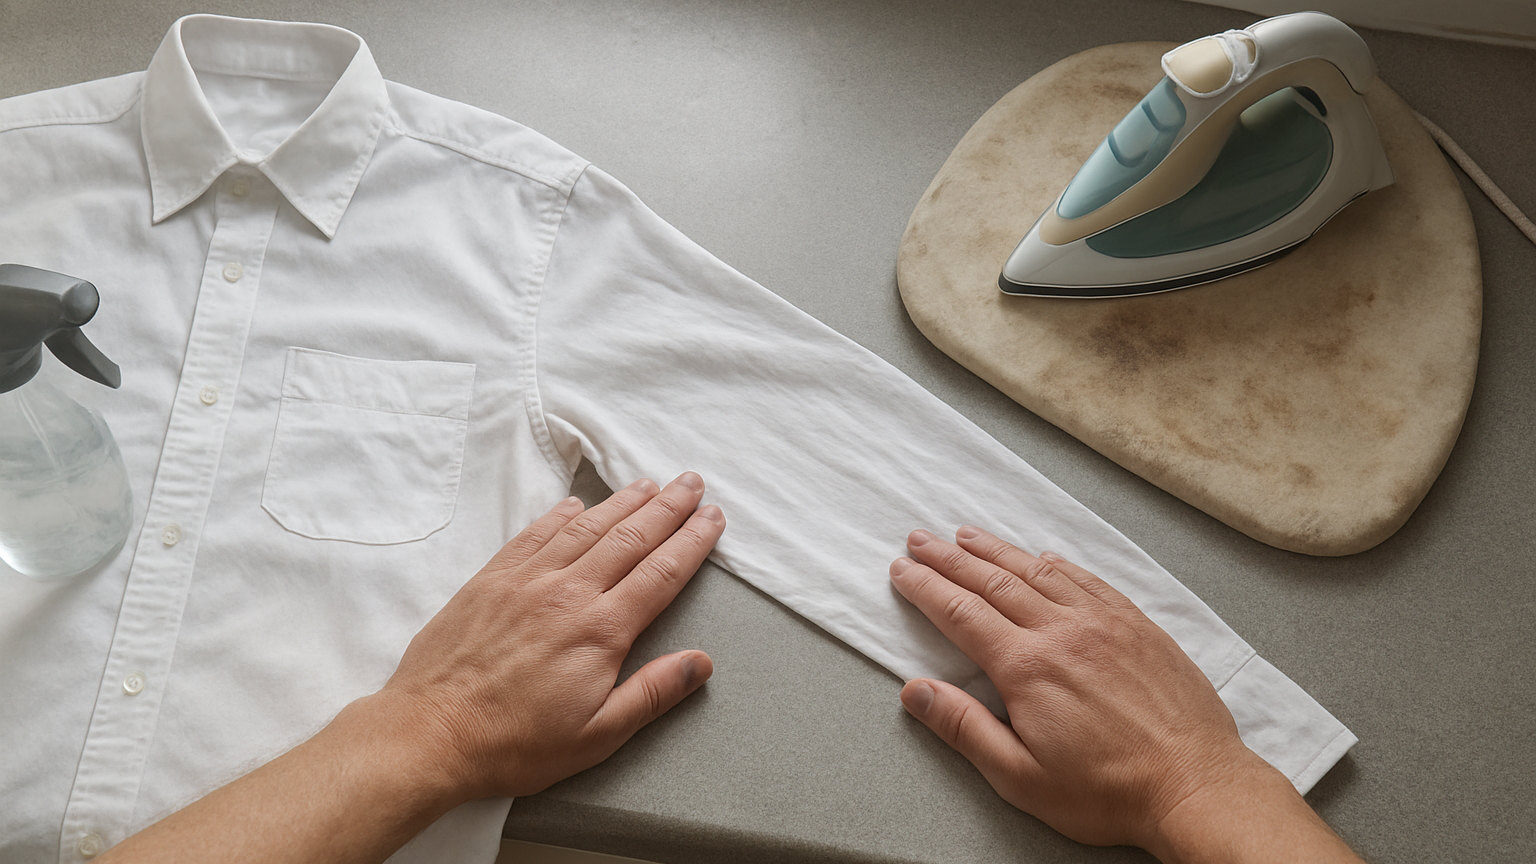
The sleeve is the part most likely to go wrong, because an unwanted crease along the top of the sleeve is difficult to remove. Lay the sleeve flat with the seam running along the bottom edge, smooth it out with your hands, and iron the flat surface without pressing hard on the folded edge at the top.
Iron from the shoulder towards the cuff, then turn the sleeve over and do the other face. If a sleeve board is available, use it, since it lets you iron the sleeve in the round with no fold at all.
How do you handle the buttons and the placket?
Work the tip of the iron between the buttons rather than running the soleplate over them. Ironing directly over buttons can crack them, particularly cheaper plastic ones, and it leaves a dimpled mark in the fabric around each one.
The placket, which is the reinforced strip holding the buttonholes, benefits from a firm press to keep it flat and straight, since it is the most visible part of the shirt when worn.
How damp should the shirt be?
Slightly. Cotton irons far more easily with moisture in it, because the fibres relax and reset under heat and steam. A shirt taken off the line just before it is completely dry is the ideal state.
If it is bone dry, use the spray function or a plant mister, or set the iron to full steam on the three dot setting. Dry ironing a dry cotton shirt is slow and produces a worse result.
What about the shoulders and yoke?
Use the narrow end of the board. Slide the shoulder over the pointed end so the curved seam sits flat, iron that section, then rotate the shirt and do the other side. Trying to press the shoulders flat on the wide part of the board creates creases in the sleeve head.
What should you do the moment it is finished?
Hang it immediately, buttoned at the collar and one or two buttons down, on a shaped hanger with space around it. A freshly ironed shirt is warm and slightly damp, and folding it or cramming it onto a full rail at that point will put creases straight back into it.
Leave it to cool on the hanger for a few minutes before it goes into the wardrobe, since fabric sets as it cools and a warm shirt put straight onto a crowded rail will pick up new creases from its neighbours.